If you’re working with Source Filmmaker (SFM), you’ve probably come across the term “SFM compile.” It’s a crucial step in the animation workflow—but also one of the most confusing for beginners. In simple terms, compiling in SFM means rendering your project into a final video file that you can share, upload, or edit further.
This guide breaks everything down in a clear, practical way so you can understand what SFM compile is, how it works, and how to avoid common mistakes.
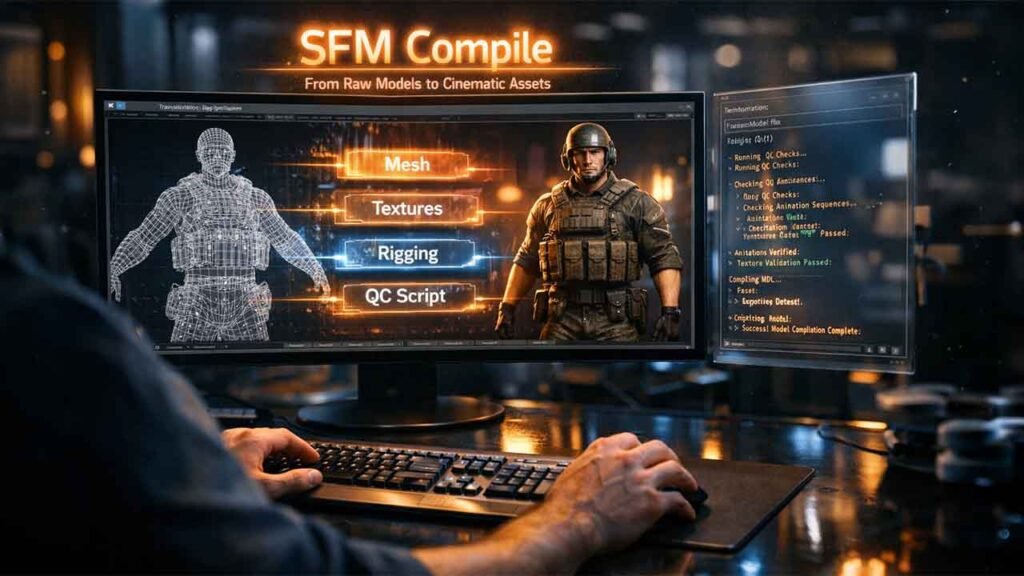
What Does “SFM Compile” Mean?
In SFM, compile = render/export.
When you create an animation inside SFM, you’re working in a real-time preview environment. But that preview isn’t your final output. To turn your scene into a proper video file (like AVI or image sequences), you need to compile it.
Think of it like this:
- Editing timeline = rough project
- Compile process = final export
- Output file = finished animation
Without compiling, your project stays inside SFM and can’t be shared properly.
Why SFM Compile Is Important
Compiling is not just a technical step—it directly affects your animation quality.
Here’s why it matters:
1. Final Quality Output
The compile process allows SFM to render:
- Better lighting
- Accurate shadows
- Motion blur
- Anti-aliasing
2. Smooth Playback
Preview playback can lag, but compiled videos are smooth and consistent.
3. Sharing & Publishing
You need a compiled file to upload to:
- YouTube
- Social media
- Editing software
Types of SFM Compile Options
When you compile in SFM, you’ll see multiple output options. Choosing the right one is important.
1. Image Sequence (Best Quality)
- Saves each frame as an image (PNG, TGA, JPG)
- Highest quality
- Used by professionals
👉 Best for: YouTube videos, cinematic renders
2. AVI Video
- Direct video output
- Faster but lower control
- Can cause large file sizes
👉 Best for: Quick previews
3. Poster / Single Frame
- Renders a single image
- Used for thumbnails or artwork
How to Compile in SFM (Step-by-Step)
Follow this simple workflow:
Step 1: Open Your Project
Load your animation in SFM.
Step 2: Set Work Camera
Make sure your camera angle is correct, as this is what will be rendered.
Step 3: Go to Export
Click:
File → Exort → Movie
Step 4: Choose Settings
Select:
- Output format (AVI or Image Sequence)
- Resolution (e.g., 1920×1080)
- Frame rate (24 / 30 / 60 FPS)
Step 5: Start Compile
Click Export Movie and let SFM render your frames.
Best SFM Compile Settings (Recommended)
For high-quality results, use these:
- Resolution: 1920×1080 (Full HD)
- Frame Rate: 30 FPS (or 60 FPS for smooth motion)
- Format: Image Sequence (PNG)
- Anti-Aliasing: High
- Motion Blur: Enabled
These settings give a clean, professional output.
Common SFM Compile Problems (And Fixes)
Even experienced users run into issues. Here are the most common ones:
1. Black Screen Output
Cause: Wrong camera selected
Fix: Set the correct work camera before exporting
2. Low Quality Render
Cause: Using AVI or low settings
Fix: Switch to image sequence with higher quality
3. Missing Textures
Cause: Assets not loaded properly
Fix: Re-check models and materials in your scene
4. Crashes During Compile
Cause: Heavy scenes or memory issues
Fix:
- Lower resolution
- Render in smaller segments
Image Sequence vs AVI: Which Should You Use?
Here’s a quick comparison:
| Feature | Image Sequence | AVI |
|---|---|---|
| Quality | High | Medium |
| File Size | Flexible | Large |
| Stability | Very Stable | Can crash |
| Editing | Easy | Limited |
👉 Conclusion:
Use image sequences for serious projects.
Pro Tips for Better SFM Compiles
If you want professional-looking results, follow these tips:
- Always preview your animation before compiling
- Use depth of field for cinematic shots
- Render in image sequences, then combine in editing software
- Keep your scene optimized (too many models = lag/crash)
- Use external editors like Adobe Premiere or DaVinci Resolve for final touches
Final Thoughts
SFM compile is the step that transforms your creative work into a polished final product. While it might seem technical at first, once you understand the basics—like choosing the right format and settings—it becomes straightforward.
If you’re serious about animation in Source Filmmaker, mastering the compile process is essential. It’s the difference between a rough preview and a professional-quality video.